BOOK

First of all I placed a landscape image to be the background by simply moving around the layers. I then added in a wooden background behind the book for this to appear as a table for the book placed on


I added highlights and shadows to make the book look more 3D.


I cut out the contents of the book with the magic wand tool, and replaced it with grass.

Here you can see my book finished, i added a road, trees, and put shadows in the correct places to look more realistic. This task has helped me become familiar with the program and i now feel i can comfortably use it.
BLENDS_PHONE BOX
In this tutorial, I learned how to create a surreal image which also has to feel and look like a traditional image. I learned how to blend images together, use shadows and lighting and create reflections on photoshop and also how to blend textures together in order to enhance the image and make it look like a traditional painting.

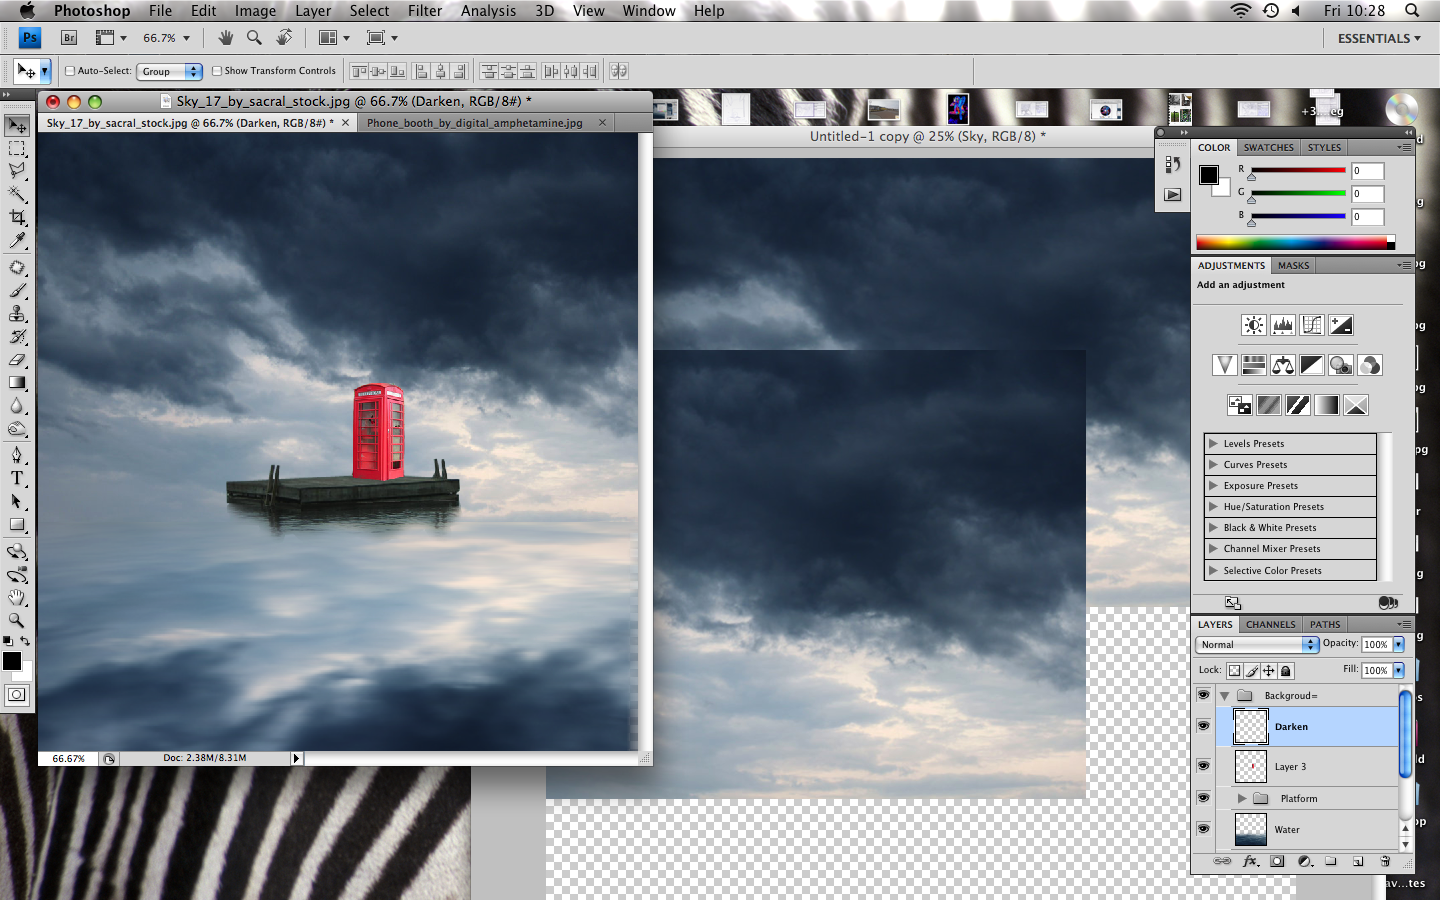
First of all I had to create the sky with its reflection on the sea which will serve as the background of my picture. I made the reflection look realistic by adding a little Motion Blur.

I then made the reflection on the sea more realistic by blending an image of the sea to it. Firstly I desaturate the water's colour in order to make it blend nicely with the sky and its reflection. Also, by using an Eraser tool i was able to make the horizon in this image look seamless

This is a screen shot of me desaturating the waters colour

I then added the platform to where the phone booth and the lost woman will be situated. In order to create its reflection in the water I activated the Polygonal Lasso Tool where could select the area and blend it in with the water to make it seamless. The result of erasing and reducing the Opacity is shown above

The next step was to create a phone booth to be positioned on the platform, i did this by selecting around the area i wanted to cut by using the Magnetic Lasso tool. I then adjusted the Brightness/Contrast of the layer and removed all the distracting plan on the booths lower area by using the Clone Stamp tool.
This was the final image so far with the platform and phone booth. The next step was to create a reflection for the phone booth and then add on a woman to the image.
No comments:
Post a Comment